Building a powerful chest at home is far simpler than most people think. It really just boils down to mastering a few key bodyweight exercises with great form and consistently pushing yourself harder over time. That’s it. You absolutely don't need a gym membership to see impressive results.
This whole approach is about smart, sustainable progress you can make right in your living room. Ready to build a stronger chest? Follow us on social media @YourSocialHandle for daily tips and video tutorials!
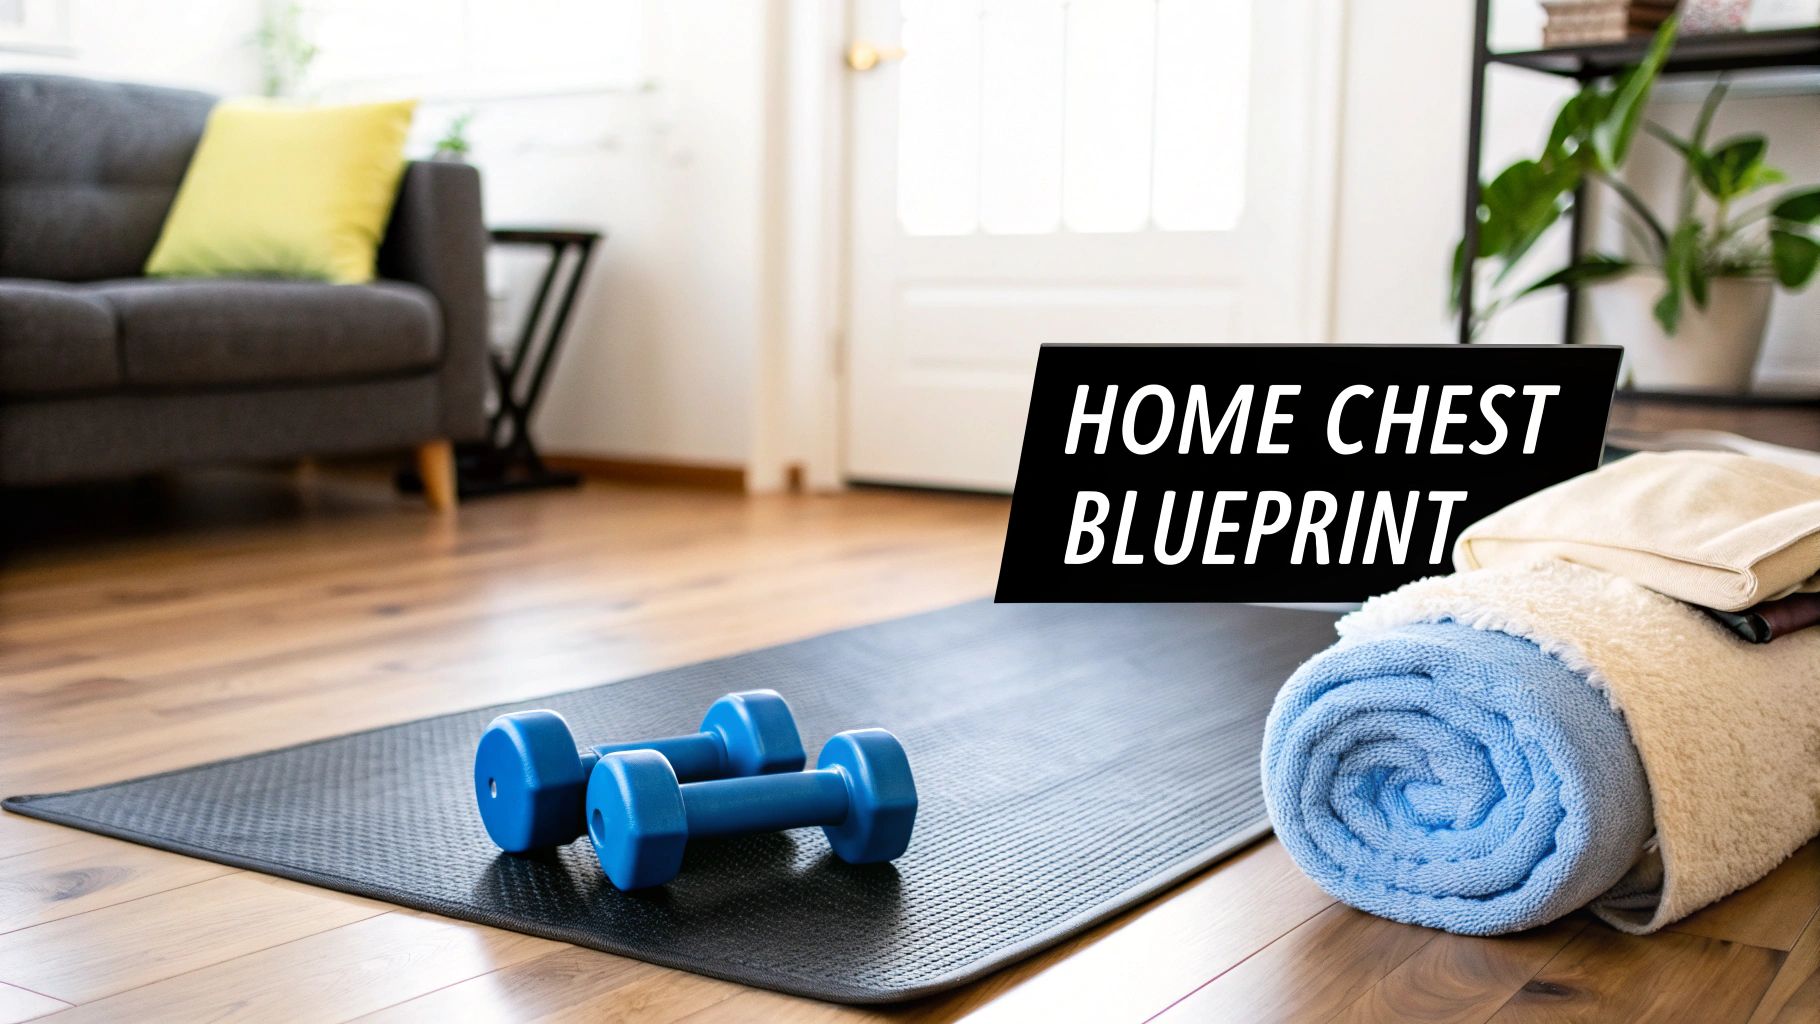
Your Blueprint for a Powerful Chest Without a Gym
Let's clear the air on something right now: the idea that you can only sculpt a great chest in a gym packed with heavy benches and cable machines is a total myth. It’s just not true. The reality is that consistent, intelligent bodyweight training is more than enough to spark significant muscle growth.
Real, lasting results come from mastering your form, pushing your limits in a calculated way, and having a little patience with the process.
Think of this guide as your personal training plan. Everything you need to understand how to build your chest at home is right here, starting with the foundational pillars of any effective training program. Forget the complicated machines; your own body is the only tool you really need.
To build the chest you want, you need a solid plan that’s built on four core pillars. These aren’t just abstract concepts; they are the actionable principles that separate a successful home workout routine from one that goes nowhere.
The Four Pillars of At-Home Chest Training
| Pillar | Description | Key Action |
|---|---|---|
| Consistency | The stimulus your muscles need to grow. Sporadic workouts won't cut it. | Commit to 2–3 dedicated chest sessions per week, every week. |
| Progressive Overload | The "secret sauce" for continuous growth. You must always challenge your muscles more than before. | Add more reps/sets, slow down your tempo, or move to a harder exercise variation. |
| Mind-Muscle Connection | Actively feeling the target muscle work. This is more than just going through the motions. | Squeeze your pecs hard on every single rep, focusing on the contraction. |
| Proper Recovery | When the actual muscle growth happens. Training breaks down muscle; rest builds it back stronger. | Prioritize 7-9 hours of sleep and get enough protein to repair muscle tissue. |
When you apply these principles, even simple bodyweight exercises become incredibly effective.
In fact, research has shown that different push-up variations can stimulate chest muscle growth on par with some traditional gym workouts. You don't need to do hundreds of sloppy reps. A much better approach is performing 6 to 12 quality push-ups per set, stopping just 2 or 3 reps short of failure.
By changing the angle—like doing incline push-ups with your hands on a couch or deficit push-ups with your hands on books—you can hit the entire chest just as effectively as you would with a full dumbbell rack. You can dig deeper into these techniques in our guide to no-equipment chest workouts.
The best workout plan is the one you actually stick to. Don't chase some perfect, complicated routine you saw online. Just aim for progress. Showing up and putting in the work, week after week, is what will ultimately transform your physique.
Ultimately, your success hinges less on the equipment you have and more on the dedication and intelligence you bring to your training. This blueprint gives you the structure, but your effort is what will bring it to life. Share your progress with us on Instagram using #CoolBrandFitness for a chance to be featured!
Mastering the Essential Home Chest Exercises
Alright, now that we’ve covered the principles of muscle growth, let's get into the actual movements that will build your chest. You don’t need a fancy gym membership or a full rack of weights. Your own bodyweight and a little bit of smarts are more than enough to get started. We're going to break down the key exercises you can do at home, focusing on how to do them right for the best results.
This is all about quality over quantity. I’d rather see you do 10 perfect push-ups where you feel every muscle fiber working than 30 sloppy reps that just get you tired. The goal is to build that mind-muscle connection—that’s the secret sauce that makes bodyweight training so powerful.
The Classic Push-Up: Still the Undisputed King
There’s a reason the push-up is the foundation of almost every at-home chest routine. It's a powerhouse compound movement that hits your pecs, shoulders, and triceps all at once. But doing it correctly is everything.
Let's nail down your form:
- Get Set: Start in a high plank. Your hands should be flat on the floor, just a little wider than your shoulders. Your body needs to be a straight, rigid line from your head to your heels. No sagging hips or arched backs.
- The Descent: Lower yourself by bending your elbows, keeping them at about a 45-degree angle from your body. Think about screwing your hands into the floor—this will engage your lats and keep you stable.
- The Push: Once your chest is an inch or two from the floor, explode back up. As you reach the top, consciously squeeze your chest muscles together. That final squeeze is where the magic happens.
Pro Tip: Don't just fall down and push up. Control the entire movement. Try a slow 2-3 second negative (the lowering part). This increases the time your muscles are under tension, which is a massive trigger for growth.
Once you’ve got the classic form down, you can introduce simple tools to take it up a notch. For instance, you can elevate your workout with the Push-Up Fitness Board, which uses different handle positions to help you precisely target specific parts of your chest, shoulders, and triceps. It’s a great way to ensure every rep is as effective as possible.
Hitting Your Chest from All Angles
Your main chest muscle, the pectoralis major, has fibers running in different directions. To build a full, well-rounded chest, you can't just do one type of push-up. You need to hit it from different angles, which is surprisingly easy to do at home.
For the Lower Chest: Incline Push-Ups
Place your hands on a sturdy, elevated surface like a chair, a sofa arm, or even a staircase. This simple change shifts the focus to the lower part of your pecs. It’s also a fantastic starting point for beginners because it reduces the amount of bodyweight you’re lifting, letting you build up strength safely.
For the Upper Chest: Decline Push-Ups
To hit that stubborn upper chest, just flip it around. Put your feet up on that same chair or sofa and keep your hands on the floor. This angle puts more load on the upper fibers of your pecs. It's a tougher variation, so make sure your core stays tight to keep your back straight and safe.
This is basically how you replicate an incline and decline bench press without the bench. For decades, the best physiques were built by combining heavy compound lifts with high-rep bodyweight moves. If you want to dive deeper, you can check out this list of the 10 best chest exercises and see how many of them can be adapted for a home setup.
Dumbbell Essentials: The Floor Press and Fly
If you happen to have a pair of dumbbells, two killer exercises are now on the table: the floor press and the floor fly. The floor provides a stable base and protects your shoulders by limiting your range of motion, letting you focus entirely on squeezing your chest.
The Dumbbell Floor Press
Think of this as your at-home bench press.
- Lie on your back, knees bent, with your feet flat on the floor.
- Hold a dumbbell in each hand, resting them on your chest with your palms facing each other.
- Press the weights straight up until your arms are locked out, squeezing your pecs hard at the top.
- Lower them slowly until your triceps gently tap the floor. That's one rep.
The floor acts as a natural safety stop, preventing your elbows from dropping into a vulnerable position. It’s a fantastic and safe way to build raw pressing strength.
The Dumbbell Floor Fly
This move is all about isolation, giving you a great stretch and a powerful contraction for definition.
- Start in the same position, but hold the dumbbells directly over your chest with a slight bend in your elbows.
- Slowly open your arms, lowering the dumbbells out to your sides in a wide arc. Keep that slight bend in your elbows the whole time.
- Stop when your upper arms are just about to touch the floor. You should feel a deep stretch across your chest.
- Squeeze your pecs to reverse the motion, like you’re hugging a giant tree, and bring the dumbbells back to the start.
By combining these push-up variations and dumbbell moves, you have everything you need to build an impressive chest without ever leaving your house.
Your Weekly Plan for Building Chest Muscle
Knowing the right exercises is one thing, but stringing them together into a smart, consistent plan is what actually builds muscle. If you want to learn how to build chest muscles at home, consistency is your secret weapon. A clear weekly schedule takes out all the guesswork.
We've laid out a few ready-to-go routines tailored to different fitness levels. Whether you're just starting out or trying to smash through a stubborn plateau, there’s a path here for you.
Each plan is designed to give you the right amount of training stimulus while also prioritizing recovery—because that’s when the real growth happens. Find the routine that fits where you are right now, and let's get to work.
The Beginner's Foundation Plan
If you’re new to working out, your entire focus should be on building a solid foundation. That means mastering perfect form and just getting into the habit of showing up. Don't even think about lifting heavy or trying fancy movements yet. That'll come later.
Your mission is to teach your body the correct movement patterns and forge that all-important mind-muscle connection. You'll hit your chest twice a week on non-consecutive days, like a Monday and Thursday. This gives you a full 72 hours to recover, which is perfect for new lifters whose muscles need more time to repair.
Here’s a simple workout to get you started:
- Incline Push-Ups (hands on a sofa or sturdy chair): 3 sets of 8-12 reps. Really focus on a slow, controlled negative on the way down.
- Knee Push-Ups: 3 sets to near failure. Stop just 1-2 reps before you physically can't do another one.
- Wall Push-Ups: 2 sets of 15-20 reps. This is a great way to safely burn out the muscle at the end.
Give yourself 60-90 seconds of rest between sets. The name of the game here is consistency, not intensity. Just showing up and getting it done is a huge win.
This infographic gives you a great visual of the core movements that make up any good at-home chest routine.

As you can see, a mix of bodyweight and dumbbell exercises is key to hitting your chest from all the angles you need to at home.
The Intermediate Intensity Plan
So, you can comfortably knock out 15-20 classic push-ups with solid form? It's time to level up. For intermediates, we'll crank up the volume (more sets and reps) and introduce some tougher variations to spark new muscle growth.
You’ll still train your chest twice a week, but the workouts will be a lot more demanding. This is where we really lean into the principle of progressive overload, forcing your muscles out of their comfort zone.
An intermediate chest day might look something like this:
- Classic Push-Ups: 4 sets of as many reps as possible (AMRAP) with perfect form.
- Decline Push-Ups (feet on a chair): 3 sets of 8-12 reps.
- Dumbbell Floor Press: 3 sets of 8-12 reps.
- Dumbbell Floor Flys: 3 sets of 10-15 reps.
Try to keep your rest periods tight—just 45-60 seconds between sets. This shorter rest increases metabolic stress on the muscle, which is another powerful trigger for growth. If you need some gear for this, a 3-in-1 quick adjustable dumbbell weight set is a fantastic investment, letting you switch weights quickly between exercises like presses and flys.
The biggest mistake I see intermediates make is "program hopping." They switch routines every week, looking for a magic bullet. Stick with one plan for at least 4-6 weeks to give your body a real chance to adapt and grow before you change a thing.
The Advanced Plateau-Buster Plan
Once you're an advanced lifter, the game changes. You aren't just building a foundation anymore; you're shattering limits. You've probably mastered the standard movements, so now it's time to introduce new techniques that challenge your muscles with things like explosive power and an increased range of motion.
Advanced trainees can often handle a bit more frequency. You might switch to a three-day split, like an upper/lower routine that hits the chest twice, plus a third, lighter "pump" day. The goal is maximum intensity without tipping into overtraining.
Take a look at how the exercises evolve across the different levels.
Sample Weekly Chest Workout Schedules
The table below shows how a single chest workout might be structured depending on your experience level. Notice how the complexity and demands increase with each stage.
| Fitness Level | Exercise | Sets x Reps |
|---|---|---|
| Beginner | Incline Push-Ups | 3 x 8-12 |
| Knee Push-Ups | 3 x To Failure | |
| Intermediate | Classic Push-Ups | 4 x AMRAP |
| Dumbbell Floor Press | 3 x 8-12 | |
| Advanced | Deficit Push-Ups | 4 x 10-15 |
| Plyometric Push-Ups | 3 x To Failure |
An advanced workout could also include intensity-boosting movements like:
- Weighted Push-Ups (with a backpack): 4 sets of 8-12 reps.
- Dips (between two sturdy chairs): 4 sets of AMRAP.
This level of training demands flawless form and a keen awareness of your body’s recovery signals. You have to be dialed in on your sleep and nutrition, as they become even more critical when you're pushing your body this hard.
How to Keep Growing Without Lifting Heavier
Sooner or later, everyone hits a wall. That frustrating point where you're putting in the work, but the results just stop coming. It’s called a plateau, and the secret to smashing through it isn't necessarily working harder—it's working smarter. The key concept here is progressive overload. It might sound like something you’d hear in a science lab, but it’s simple: you have to keep challenging your muscles in new ways to force them to grow.
When you’re building your chest at home, you can’t just reach for a heavier dumbbell. You have to get a little more creative. This is about manipulating different variables to make your muscles work harder, even when the weight (your body) stays the same.
Let’s dive into some practical strategies that go way beyond just banging out more reps.
These techniques are your ticket to making sure your muscles never get comfortable, keeping them in a constant state of adaptation and growth.
Squeeze More Growth from Every Rep
One of the most powerful ways to ramp up the difficulty is by playing with time under tension (TUT). This is just a fancy term for how long your chest muscles are actively working during a set. The longer you keep them under strain, the more you stimulate them to grow.
Instead of just blasting through your push-ups, slow things way down. On your next set, try taking a full three seconds to lower yourself to the floor, and another three seconds to push back up. I guarantee you’ll feel the difference immediately. This controlled tempo makes your muscles work harder through the entire movement, making 10 slow reps far more effective than 20 sloppy, fast ones.
This isn’t just gym-bro wisdom; it’s backed by solid research. For example, studies on resistance training show that you can see measurable gains in muscle thickness pretty quickly. One study found that people doing chest exercises three times a week saw significant increases in their pec thickness from the very first week, with strength gains kicking in by week three. Want more tips like this? Sign up for our newsletter for exclusive weekly workout advice!
Crank Up the Intensity by Hacking Your Rest
Your rest period is another dial you can turn to increase the intensity. By shortening the time you take between sets, you crank up the metabolic stress on your muscles, which is another huge trigger for growth.
If you typically rest for 60 seconds between your sets of push-ups, try cutting that down to 45 seconds. This doesn't give your muscles as much time to recover, forcing them to adapt by becoming more efficient. It’s a simple tweak, but it can make your workout feel twice as hard without adding a single rep.
Just a word of caution: don't let your form fall apart just to cut down on rest. If your technique starts to get sloppy, you've pushed it too far. It's always better to do fewer perfect reps with shorter rest than to cheat your way through a set and risk injury.
Evolve Your Exercises for Continuous Progress
Eventually, your body is smart. It will adapt to slower reps and shorter rest periods. When that happens, it’s time to make the exercises themselves harder. This is the bodyweight equivalent of sliding another plate onto the barbell at the gym.
You need a clear progression path. Think of it like leveling up in a video game:
- Incline Push-Ups: Start here. They’re great for building a solid base.
- Classic Push-Ups: Once you can nail 15-20 reps with perfect form, you're ready for the next challenge.
- Decline Push-Ups: Putting your feet up on a bench or chair shifts more of your weight onto your chest and shoulders.
- Deficit Push-Ups: Place your hands on a couple of books or yoga blocks. This increases the range of motion, giving you a much deeper stretch at the bottom.
- Plyometric Push-Ups: Now we’re talking. Pushing up with enough force for your hands to leave the ground builds explosive power.
By constantly graduating to more difficult movements, you ensure your muscles are always facing a new challenge. And that, right there, is the cornerstone of building a bigger, stronger chest at home.
Fueling and Repairing for Maximum Growth
All those push-ups and presses are just half the battle. They're the signal you send to your body to get stronger, but the real growth happens after the workout is over. What you do in the hours between sessions—how you eat, sleep, and recover—is what actually turns all that effort into noticeable size and strength.
If you ignore this side of the equation, you're basically leaving your best results on the table.
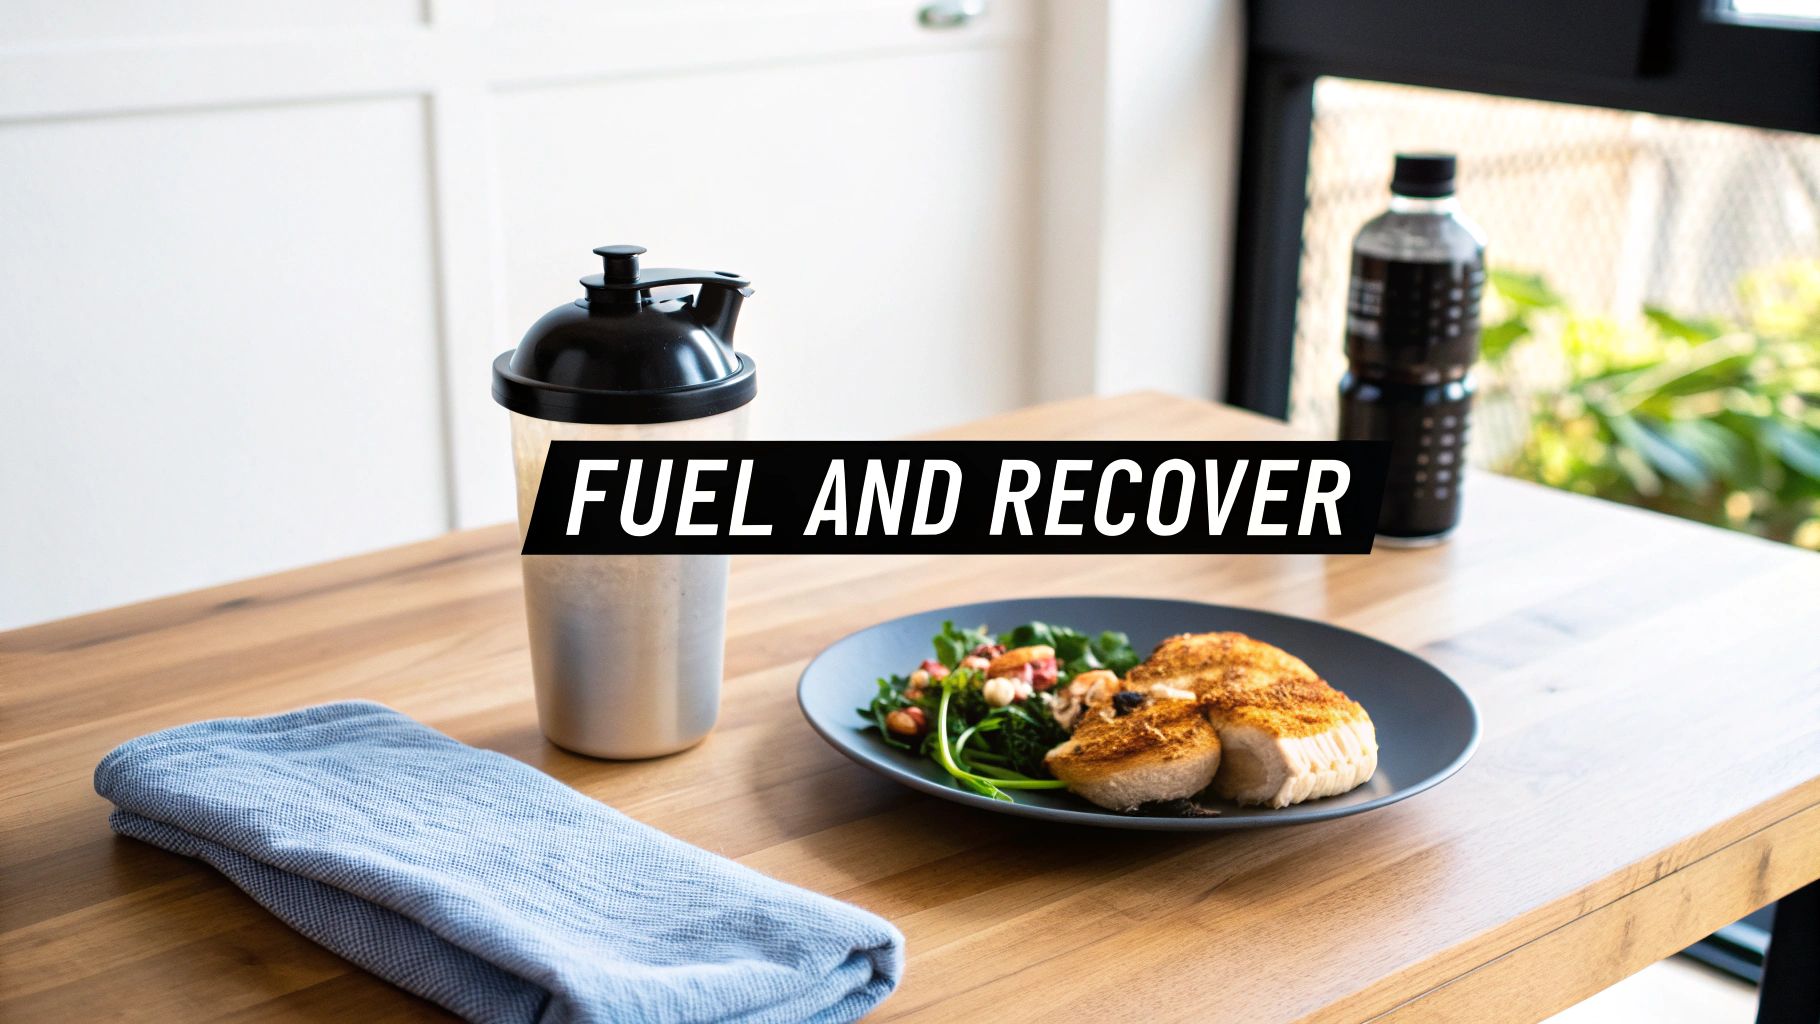
Think of it this way: training creates tiny micro-tears in your muscle fibers. Your body then rushes nutrients from your food to patch up these fibers, building them back bigger and tougher than they were before. This breakdown-and-repair cycle is the secret sauce to building muscle at home, and it’s completely powered by the right fuel.
The Building Blocks of Muscle
When it comes to muscle repair, protein is the MVP. There’s no getting around it. It supplies the amino acids your body desperately needs to rebuild that damaged tissue. Skimp on protein, and your muscles simply can't recover properly, no matter how many reps you grind out.
You don't need to get lost in complicated math, but a good rule of thumb for muscle growth is to aim for 1.6 to 2.2 grams of protein per kilogram of your body weight. The easiest way to hit this? Just make sure you have a solid protein source in every meal.
A few simple ideas to get you started:
- Breakfast: Scrambled eggs with a side of Greek yogurt.
- Lunch: Grilled chicken breast over a big salad with quinoa.
- Dinner: Baked salmon with roasted broccoli and a sweet potato.
- Snack: A quick protein shake. For more recipe ideas and nutrition guides, visit the blog section of coolbranddesigns.com.
Protein is crucial, but you also need enough total calories. You can't build a house out of thin air. Your body needs a slight calorie surplus—eating just a bit more energy than you burn—to have the raw materials to construct new muscle.
Think of it like building a house. Protein provides the bricks, and calories are the money you pay the construction crew. You need both to get the job done.
The Power of Rest and Recovery
You could have the most perfect diet on the planet, but without enough rest, your progress will hit a wall. Sleep is probably the most underrated part of recovery. It’s when your body releases growth hormone and really gets down to the business of repairing muscle. Aim for 7-9 hours of quality sleep every night.
Even one night of bad sleep can throw a wrench in protein synthesis, the very process you're relying on to build muscle. Be as disciplined with your bedtime as you are with your workouts.
Finally, let's not forget two simple but powerful recovery tools: water and light movement.
- Hydration: Water is your body’s transport system. It carries nutrients to your muscles and flushes out the junk left over from training. Sip water all day long, not just when you feel thirsty during a workout.
- Active Recovery: On your off days, don’t just become a couch potato. Gentle movement like a brisk walk or some light stretching gets the blood flowing, which can ease soreness and speed up the repair process.
Nail your nutrition and prioritize your recovery, and you’ll create the perfect environment for growth. This is how you make sure every single set and rep you perform actually counts toward building a bigger, stronger chest.
Your Top Home Chest Workout Questions, Answered
Even with the best plan in hand, questions are bound to pop up. It's totally normal to wonder if you're on the right path or if all this effort is actually going to pay off. Let’s clear the air and tackle some of the most common questions I hear about building a chest at home.
Think of this as our little Q&A session. We'll bust some myths and get you the straightforward answers you need to keep moving forward with confidence.
Can I Really Build a Big Chest with Just My Bodyweight?
You absolutely can. Building an impressive chest isn't about how much iron you can push—it’s about how much tension you can create in the muscle. Your own bodyweight is more than enough resistance to spark hypertrophy (that’s the science-y term for muscle growth), especially when you get smart with progressive overload.
By mastering incline push-ups and then moving on to classic push-ups, decline, and even deficit variations, you’re constantly raising the bar. Throw in techniques like slowing down your reps or cutting your rest time, and you’ve got a potent recipe for growth without ever needing a barbell. Plenty of people have built powerful, well-defined chests using these exact methods.
How Long Until I See Real Results?
Ah, the million-dollar question. The honest answer depends on a few big factors: consistency, nutrition, and your own genetics. But, with a solid routine (hitting your chest 2-3 times per week) and decent nutrition, most beginners start to feel stronger within the first 2-4 weeks.
As for seeing those changes in the mirror? That typically starts happening around the 4 to 12-week mark. The real secret is sticking with it long enough for all your hard work and recovery to compound. Don't get discouraged if you don't look like a magazine cover model in a month. Good, sustainable progress is a marathon, not a sprint.
What If I Feel Pain in My Shoulders or Wrists?
Feeling that deep muscle burn is a good thing. Sharp, pinching pain? That’s a stop sign. If your shoulders are barking at you during push-ups, it's almost always because your elbows are flaring out too wide.
A huge mistake I see is people making a "T" shape with their body. You want to tuck your elbows to about a 45-degree angle from your torso, creating more of an arrow shape. This simple fix takes the strain off your shoulder joints and puts the work back where it belongs: on your chest.
Wrist pain is another common one. Make sure you’re spreading the pressure across your entire hand—fingers included—not just dumping all your weight onto the heel of your palm. Using push-up bars or a pair of dumbbells as handles can be a game-changer here, as they keep your wrists in a straight, neutral position. Always, always prioritize good form over more reps.
At Cool Brand Designs, we believe having the right equipment can make all the difference in your fitness journey. From adjustable dumbbells that save space to innovative gear that supports your goals, our collections are curated to help you succeed. Explore our fitness and wellness gear today on coolbranddesigns.com and find the perfect pieces to complete your home gym setup. Don't forget to follow us on Instagram, Facebook, and TikTok for workouts, deals, and inspiration!
Article created using Outrank


